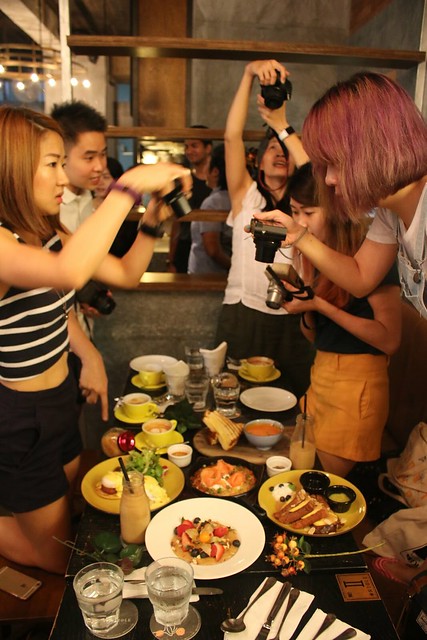
Restaurant Week Singapore is just around the corner and I'm sure a lot of you love taking photos of your food. Well, it's a worthy keepsake but food might get cold when you're figuring out how to take the best shot. Here are some tips provided by Canon Singapore that might help you reduce time and effort in scoring a good photo. I could have used some of them when I started out - this burger is
my first food photo using a Canon DSLR back in 2008.
Canon – Food Photography Tips
If you’ve always been intrigued by how food photographers can make their pictures look so gastronomically yummy even on print, then this personalised menu is perfect for you. Canon Imaging Academy (CIA) gives us the low down on how we can make our own food photos look as delish as the Jamie Oliver magazine come to life. Dig in!
FRESH FARE
Camera
While you certainly can take good shots on a simple point-and-shoot camera, cameras with manual settings will give you more control over your shot.
Lens
Macro lenses are great for capturing detail in food photography. Pick something that can give you a focal length of at least 50mm, like the Canon EF 100mm f/2.8 USM Macro lens for example.
Flash
Using direct flash is not recommended for food photography, as the lighting produced can be too harsh and throw off the natural balance of colours.
Note: I agree. You've seen Martha Stewart's shots. Bounce your light off the ceiling with an external flash unit for best results.
Hor’Doeuvres: A Bite-Sized Plan
Before you start, take note of what you’re working with. What’s the lighting like? How is the food plated? What kind of backgrounds do you have available to you? And how does the food texture react to temperature changes – will it harden or curdle, for example? These factors determine how much time you have to capture your shot.
Entree: Stew Over It
Once you have a good grasp of what you’re working with, make use of your surroundings (both on the plate and off it) to create your shot. For better results, take note of the hue of your food and don’t be shy to move things around and play up the contrast between your food and its background.
Salade: Dress It Up
If you’re using a DSLR, we recommend the “Program” (P) mode as this allows the photographer to focus on ISO and exposure compensation, while the camera handles the rest of the details. Since most food photography takes place indoors, you’ll want to keep your ISO between 800 and 1,600 for optimum effect. On a digital compact camera such as the PowerShot G7 X Mark II, try the zoom or macro setting to get up close and personal with your food. Yum.
Fromages: Say Cheeseeee!
Experiment with depth of field (that’s the distance between your nearest and furthest object in your frame) to create that creamy, blurred background also known as the “Bokeh” effect. If you’re using a DSLR, try out the “Aperture Priority” (AV) mode and adjust your aperture for selective focus (between f/3.5 to f/5.6 for kit lenses).
Dessert: Sweeten The Deal
Try out different angles – top-down shots for example may be good if you want to give the picture context. Or perhaps a low angle if you want to capture the layers of a burger for example. If your camera comes with a tilt or vari-angle screen function, make full use of it to capture unusual shots.
Promos
To add that extra oomph to your shot, consider adding textures such as a ribbed tablecloth in the background, or using the table’s wood grain to give your shot a nice contrast. This works particularly well if you’re taking the picture at an angle. Finally, have fun with the creative process of snapping that perfect shot, but don’t forget to enjoy your food before it turns cold! Bon appétit!
 Restaurant Week Singapore is just around the corner and I'm sure a lot of you love taking photos of your food. Well, it's a worthy keepsake but food might get cold when you're figuring out how to take the best shot. Here are some tips provided by Canon Singapore that might help you reduce time and effort in scoring a good photo. I could have used some of them when I started out - this burger is my first food photo using a Canon DSLR back in 2008.

No comments
Post a Comment